02 — Where the Heat Is
Heat at the Terminals Sends a Different Message
Some chargers report which part of the connection got hot. An older Tesla Wall Connector manual, for one, lists separate status messages for high temperature at the vehicle connector, at the wall plug or input terminals, and inside the unit itself. It also says that if the problem persists at normal ambient temperatures below 100 degrees, the owner should contact the manufacturer.
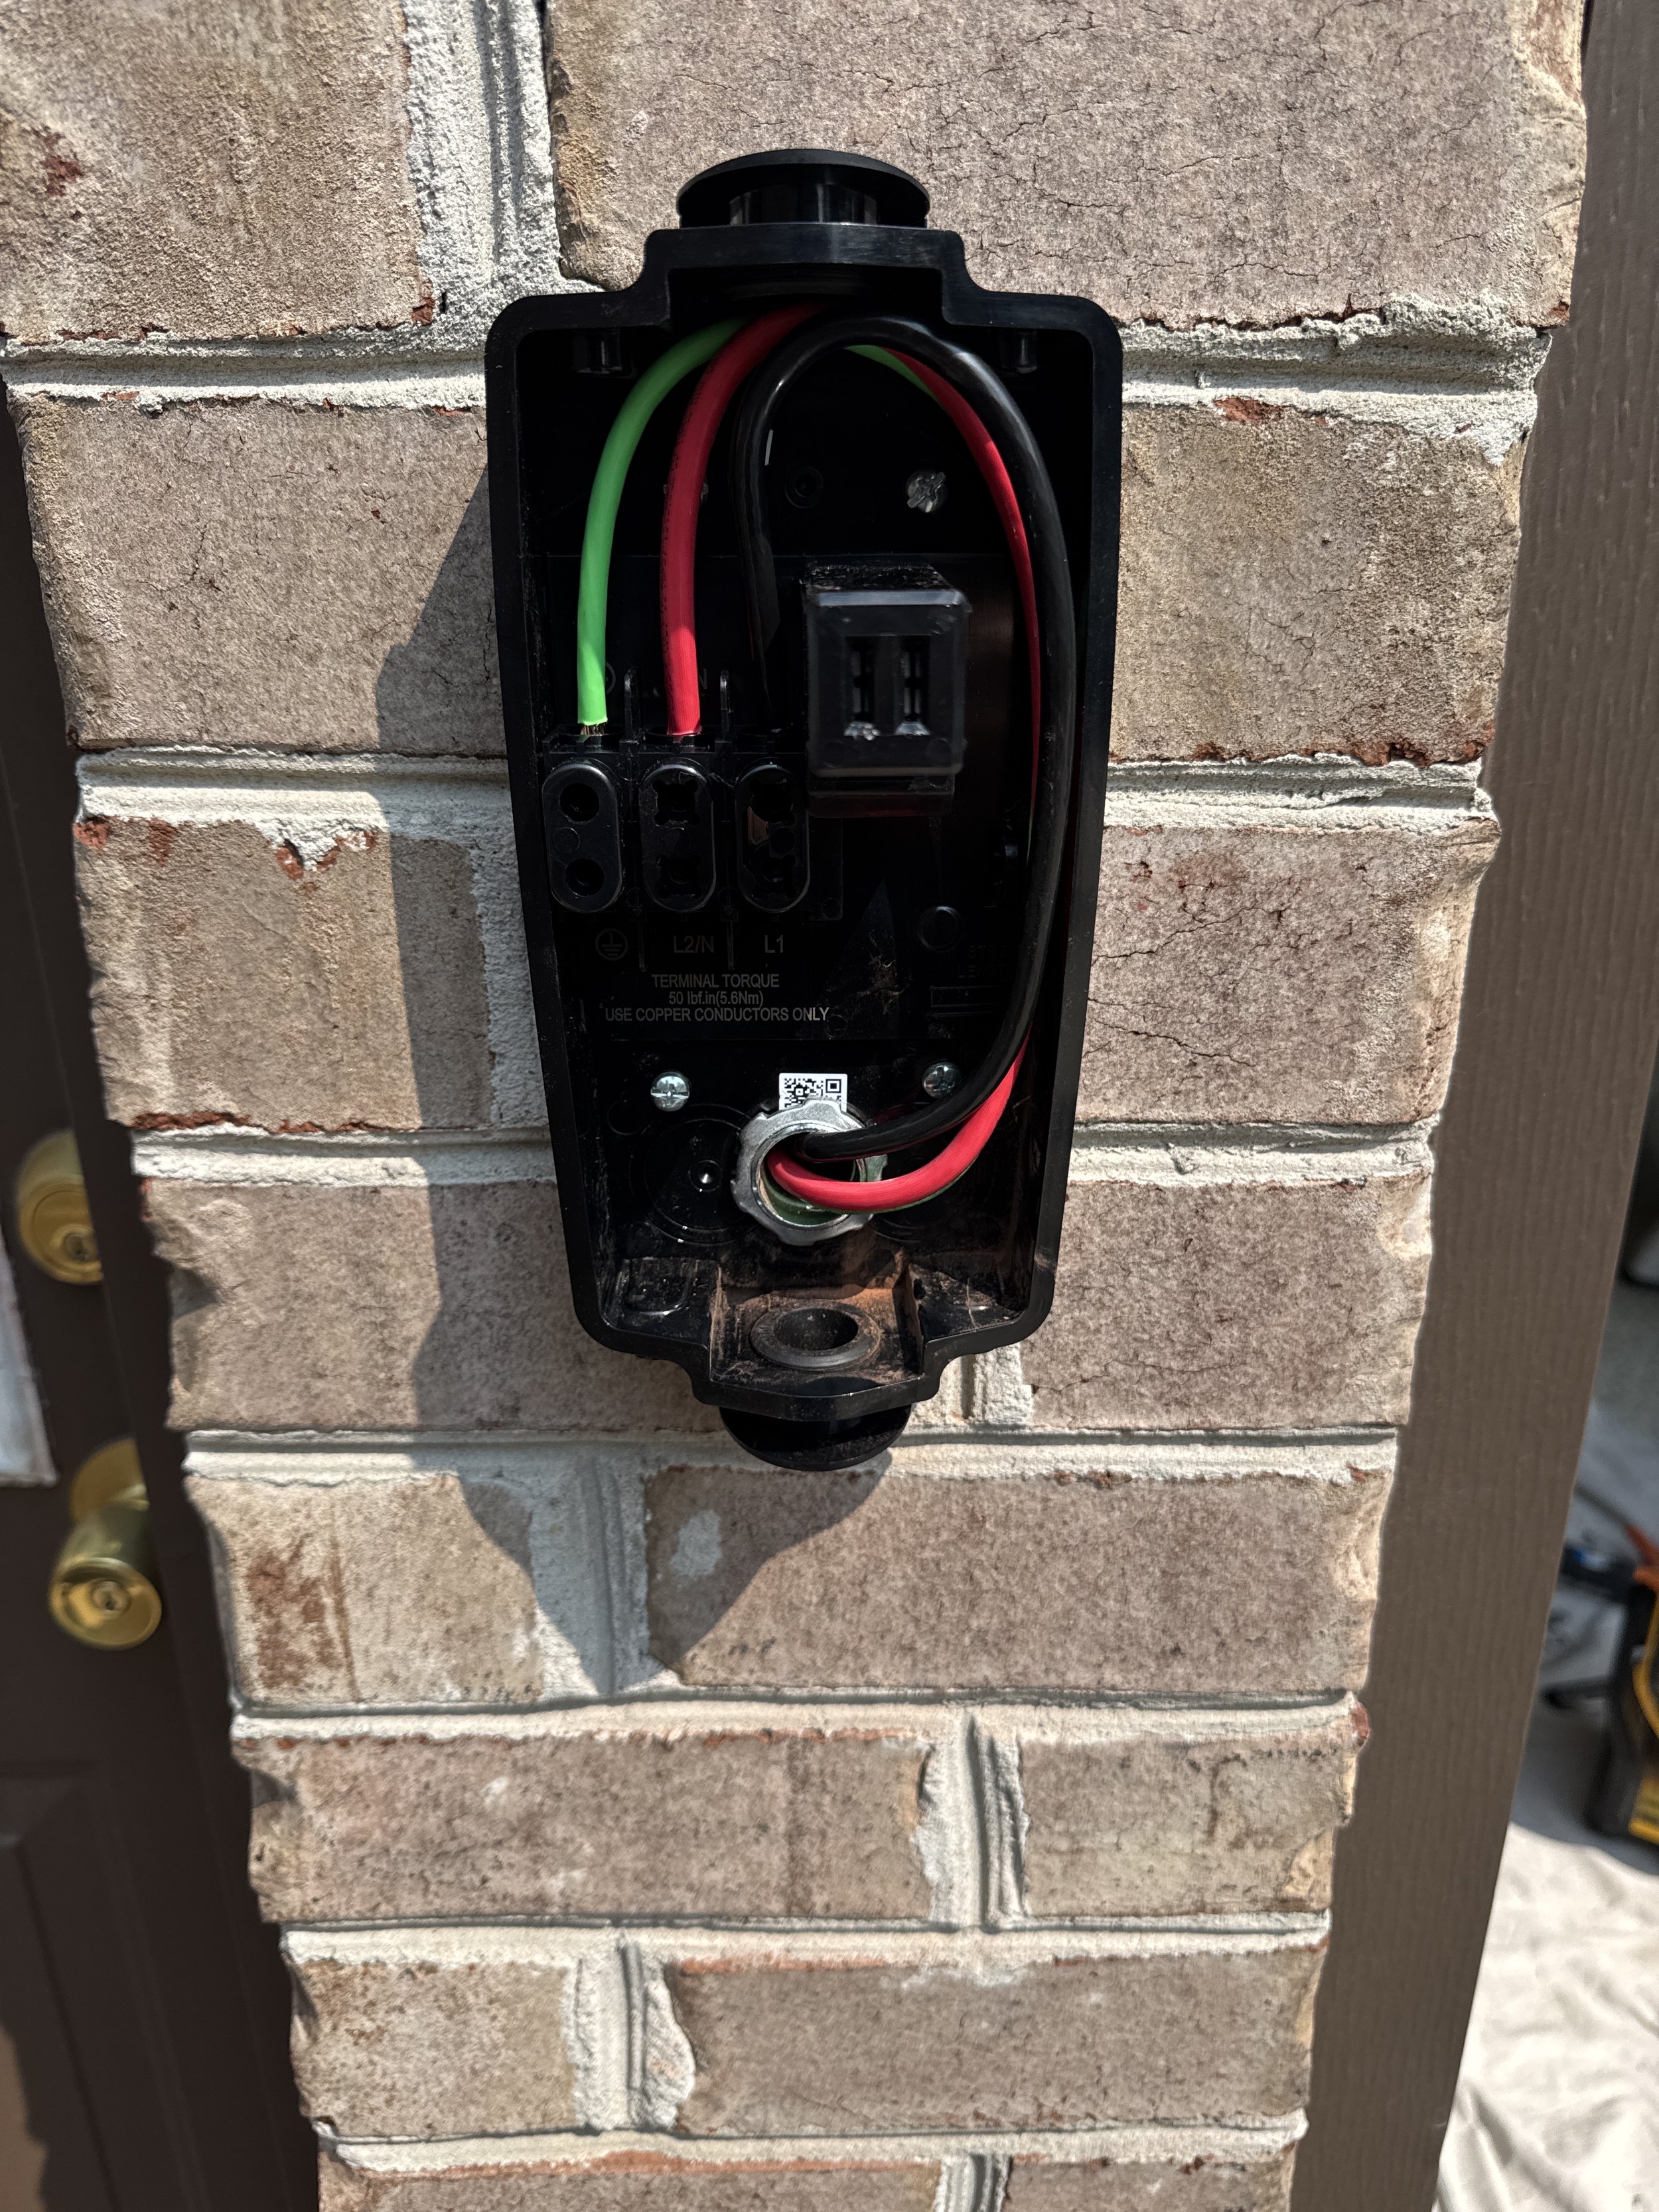
That location matters for the repair. Heat inside the unit on a hot afternoon usually points back to the weather and the spot where the charger hangs. Heat at the input terminals on a cool night points first to the connection feeding the charger, which is where our check starts before anything goes back to the maker.
Heat at the car connector puts the handle, cable, and car inlet on the list. We inspect the charger’s connector and cable for damage, and if the car inlet appears to be the cause, we let you know so you can take it to the vehicle’s service provider.
03 — Saved Current
When a Tesla Remembers a Lower Current
A Tesla can be the part holding a charge back. The Model S owner’s manual says that when the car detects unexpected fluctuations in input power while charging, it cuts the charging current by 25 percent, so 40 amps becomes 30 amps. It then saves that reduced current for that charging location.
The manual recommends charging at the lower current until the underlying problem is resolved and the location can supply steady power. Other automakers set their own behavior, so the car’s manual is the place to check.
That is how a Tesla can keep charging slowly at the same location after one unsteady session. Turning the number back up hides the symptom. The repair is finding why the power dipped, often a loose connection at the receptacle, the breaker, or the charger’s terminals.
04 — Comparison
What a Slowdown Can Mean
05 — Current Setting
A Current Setting That Never Matched the Circuit
Every Level 2 charger has a maximum current it is set to deliver, and that setting has to match the circuit feeding it. On current Tesla Wall Connectors, the breaker size is entered during initial setup, and other chargers store it in their own settings.
Some chargers remain limited to a low current until they are activated, and installers are often asked to label the charger’s amperage and the panel amperage. A charger that was never activated, or set once and not updated after a circuit change, will work every night and still deliver a fraction of its rating.
The opposite mistake, a setting above what the circuit is built for, can trip the breaker. On a repair visit, we confirm the breaker and the wire feeding the charger. The setting depends on the charger and its instructions, which determine what the circuit and the charger must match.
06 — Voltage
208 Volts, 240 Volts, and What Reaches the Charger
The Department of Energy’s Alternative Fuels Data Center describes Level 2 charging at 240 volts as typical for homes and 208 volts as typical for commercial buildings, and notes that most homes have 240 volts available, whereas 208 volts is found mainly in buildings fed by three-phase service.
The difference shows up in the arithmetic. At 40 amps, a charger on 240 volts delivers about 9.6 kilowatts. On 208 volts, the same 40 amps delivers about 8.3 kilowatts, roughly 13 percent less.
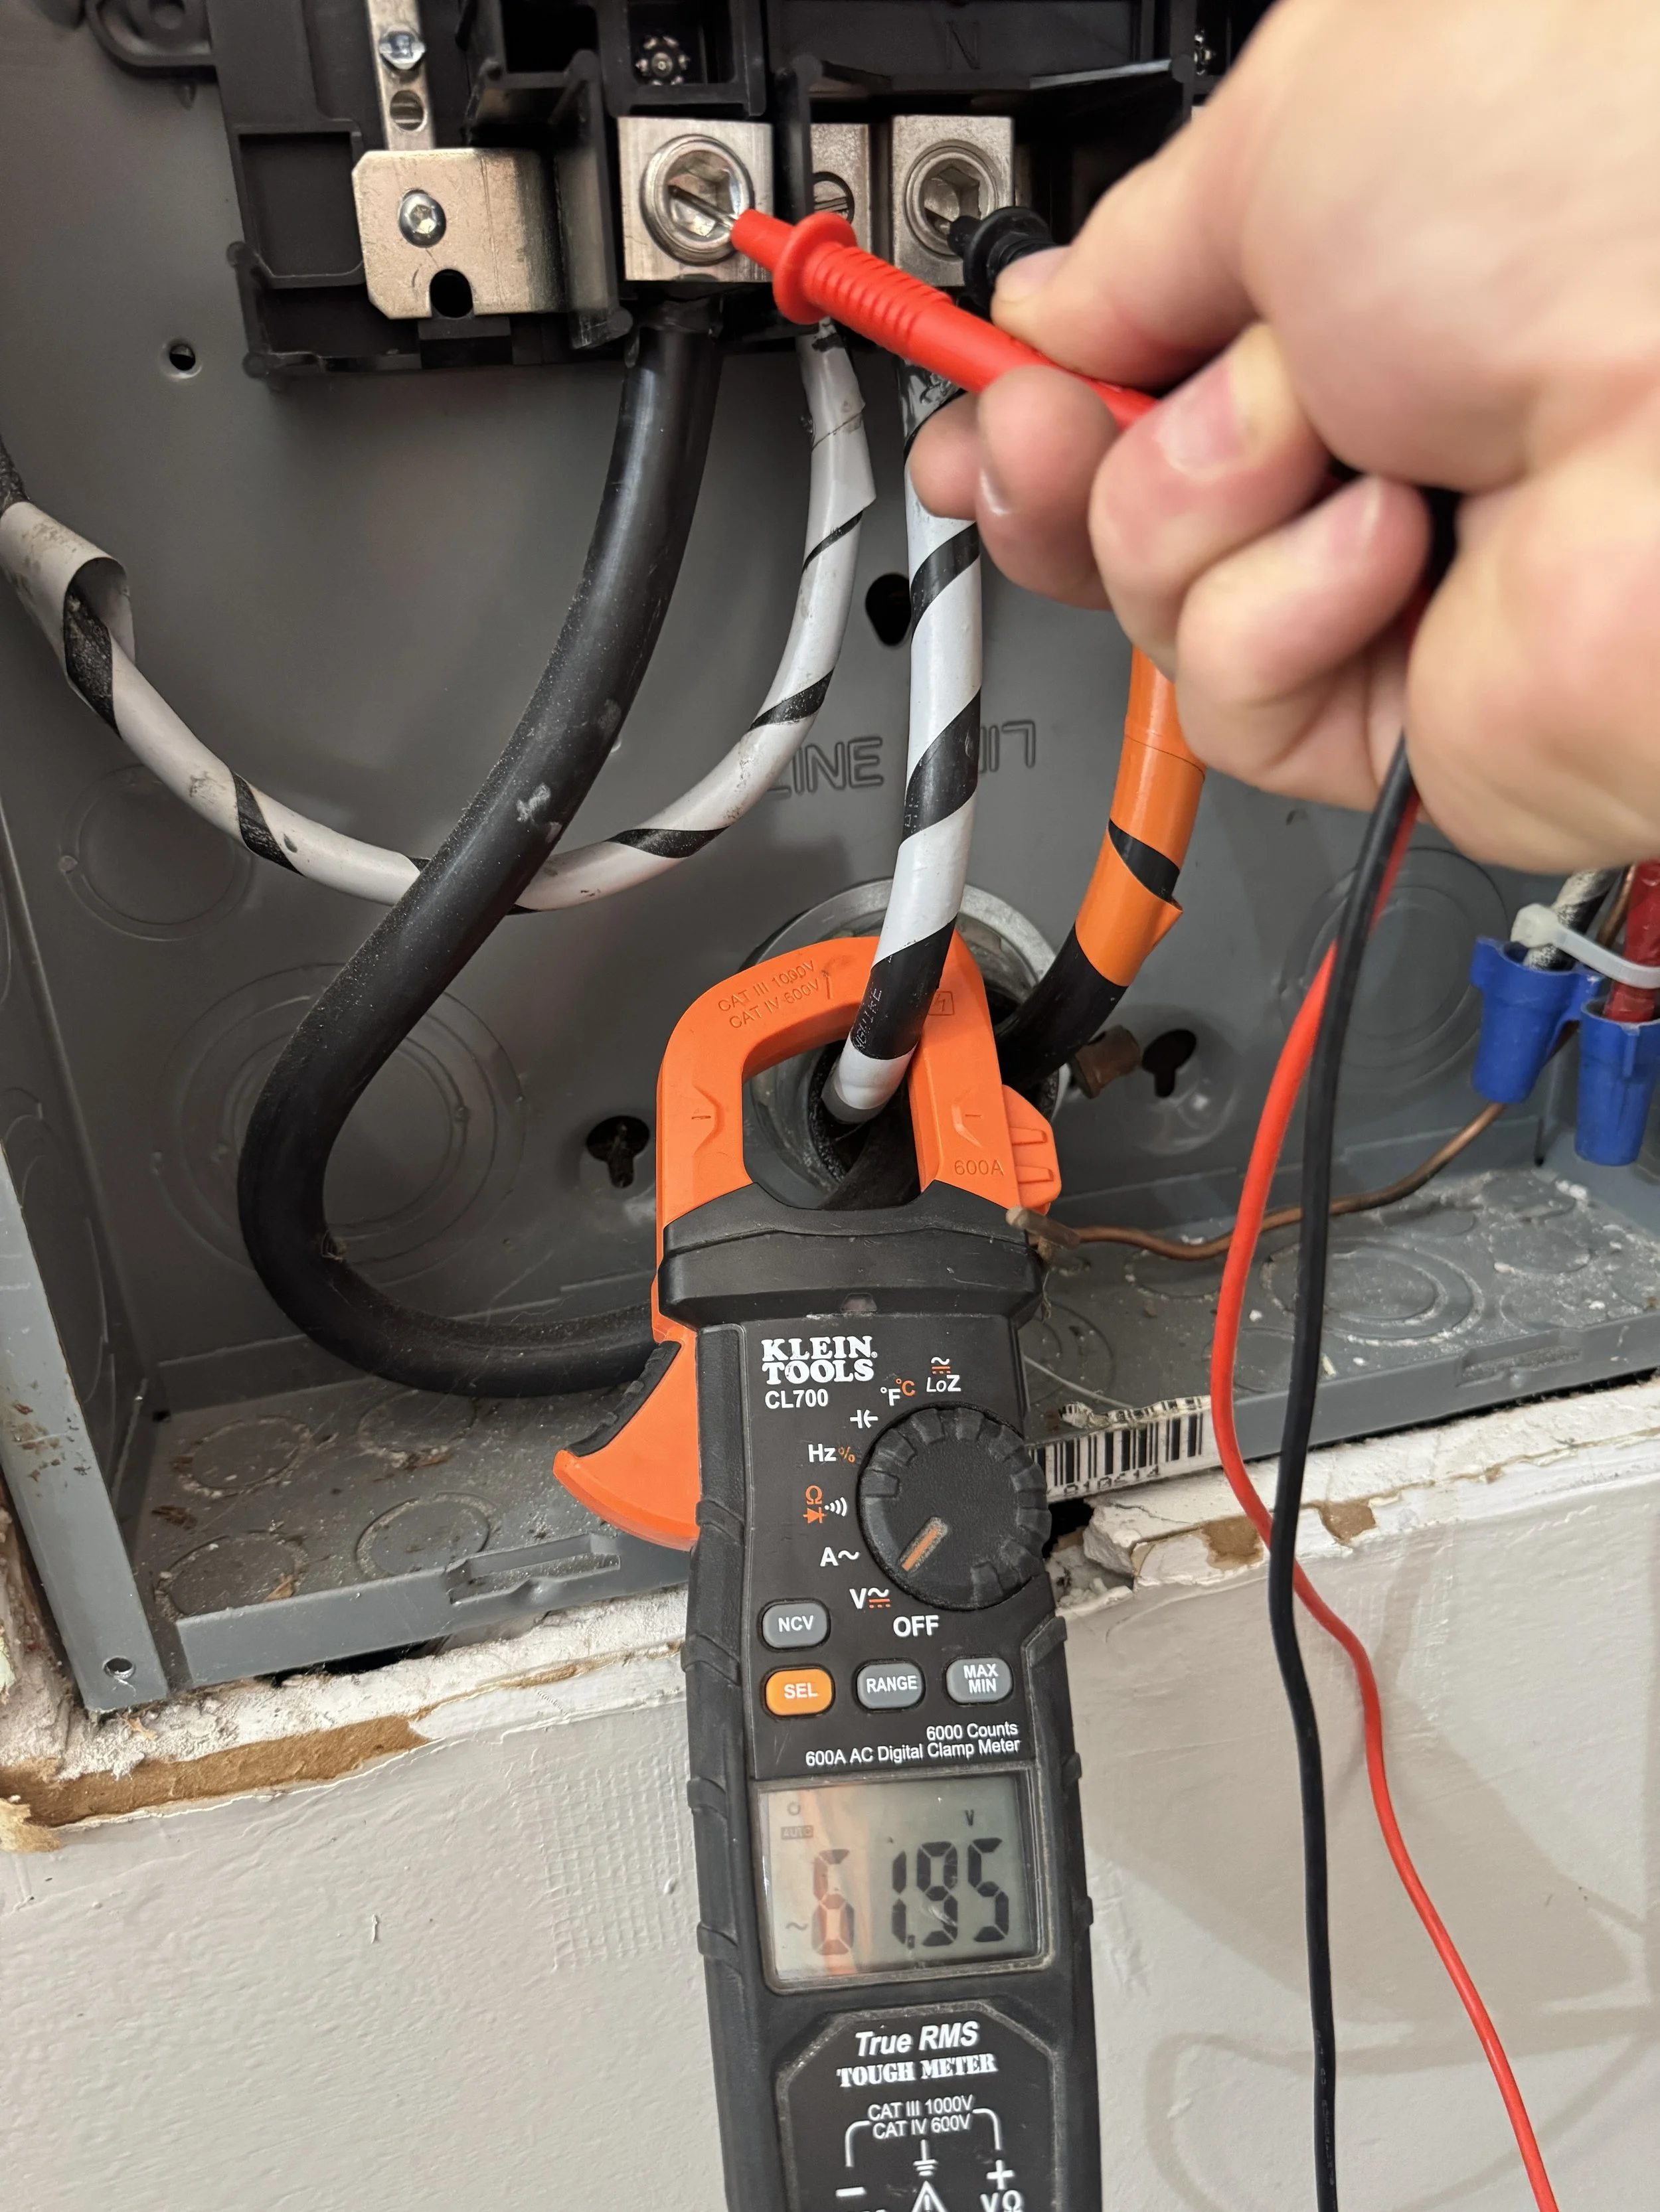
Chargers also watch supply voltage. The older Wall Connector manual lists an over or under voltage protection code and directs owners to an electrician to check the voltage at the breaker. Voltage is best checked at the charger while the car is charging, since a reading with nothing plugged in can look normal.
07 — Why Castles
What a Suffolk Repair Visit Covers
Heat Versus a Fault
We sort a summer-afternoon slowdown from a fault that needs repair.
Circuit Confirmed First
The breaker and wire are confirmed, and the charger’s instructions decide its setting.
08 — Overnight Stops
When a Session Ends Before Morning
A session that quits before morning has a few likely causes. Heat protection can end a session outright: that same older manual lists an over-temperature latch-off that stops charging without an automatic retry. Supply voltage that falls outside the charger’s range can also end it.
Some stops are no fault at all. A charging schedule set in the car or the charger app can hold a session until a set hour, so check the schedule first.
If the car is set to charge and still stops, note the time and photograph the status light, the charger’s model label, and the breaker label at the panel. We can often look at those before a visit.

09 — Process
Five Checks on a Suffolk Charger
Start from the status code
The light pattern or app message, and whether it happens on a hot afternoon or a cool night, narrows the list before a cover comes off.
Read the equipment
On site, we look at the charger’s status indicators and compare its setting with the breaker and panel label.
Test the supply
We inspect the receptacle or input terminals and the breaker, then test the supply while the car charges.
Fix the cause
That can mean tightening or replacing a loose or heat-damaged connection, or correcting the circuit. Which setting a charger needs comes from that product’s own instructions.
Confirm on a live session
We run a session on the corrected circuit and show you where the car stores its charge current for this location.
10 — Proof
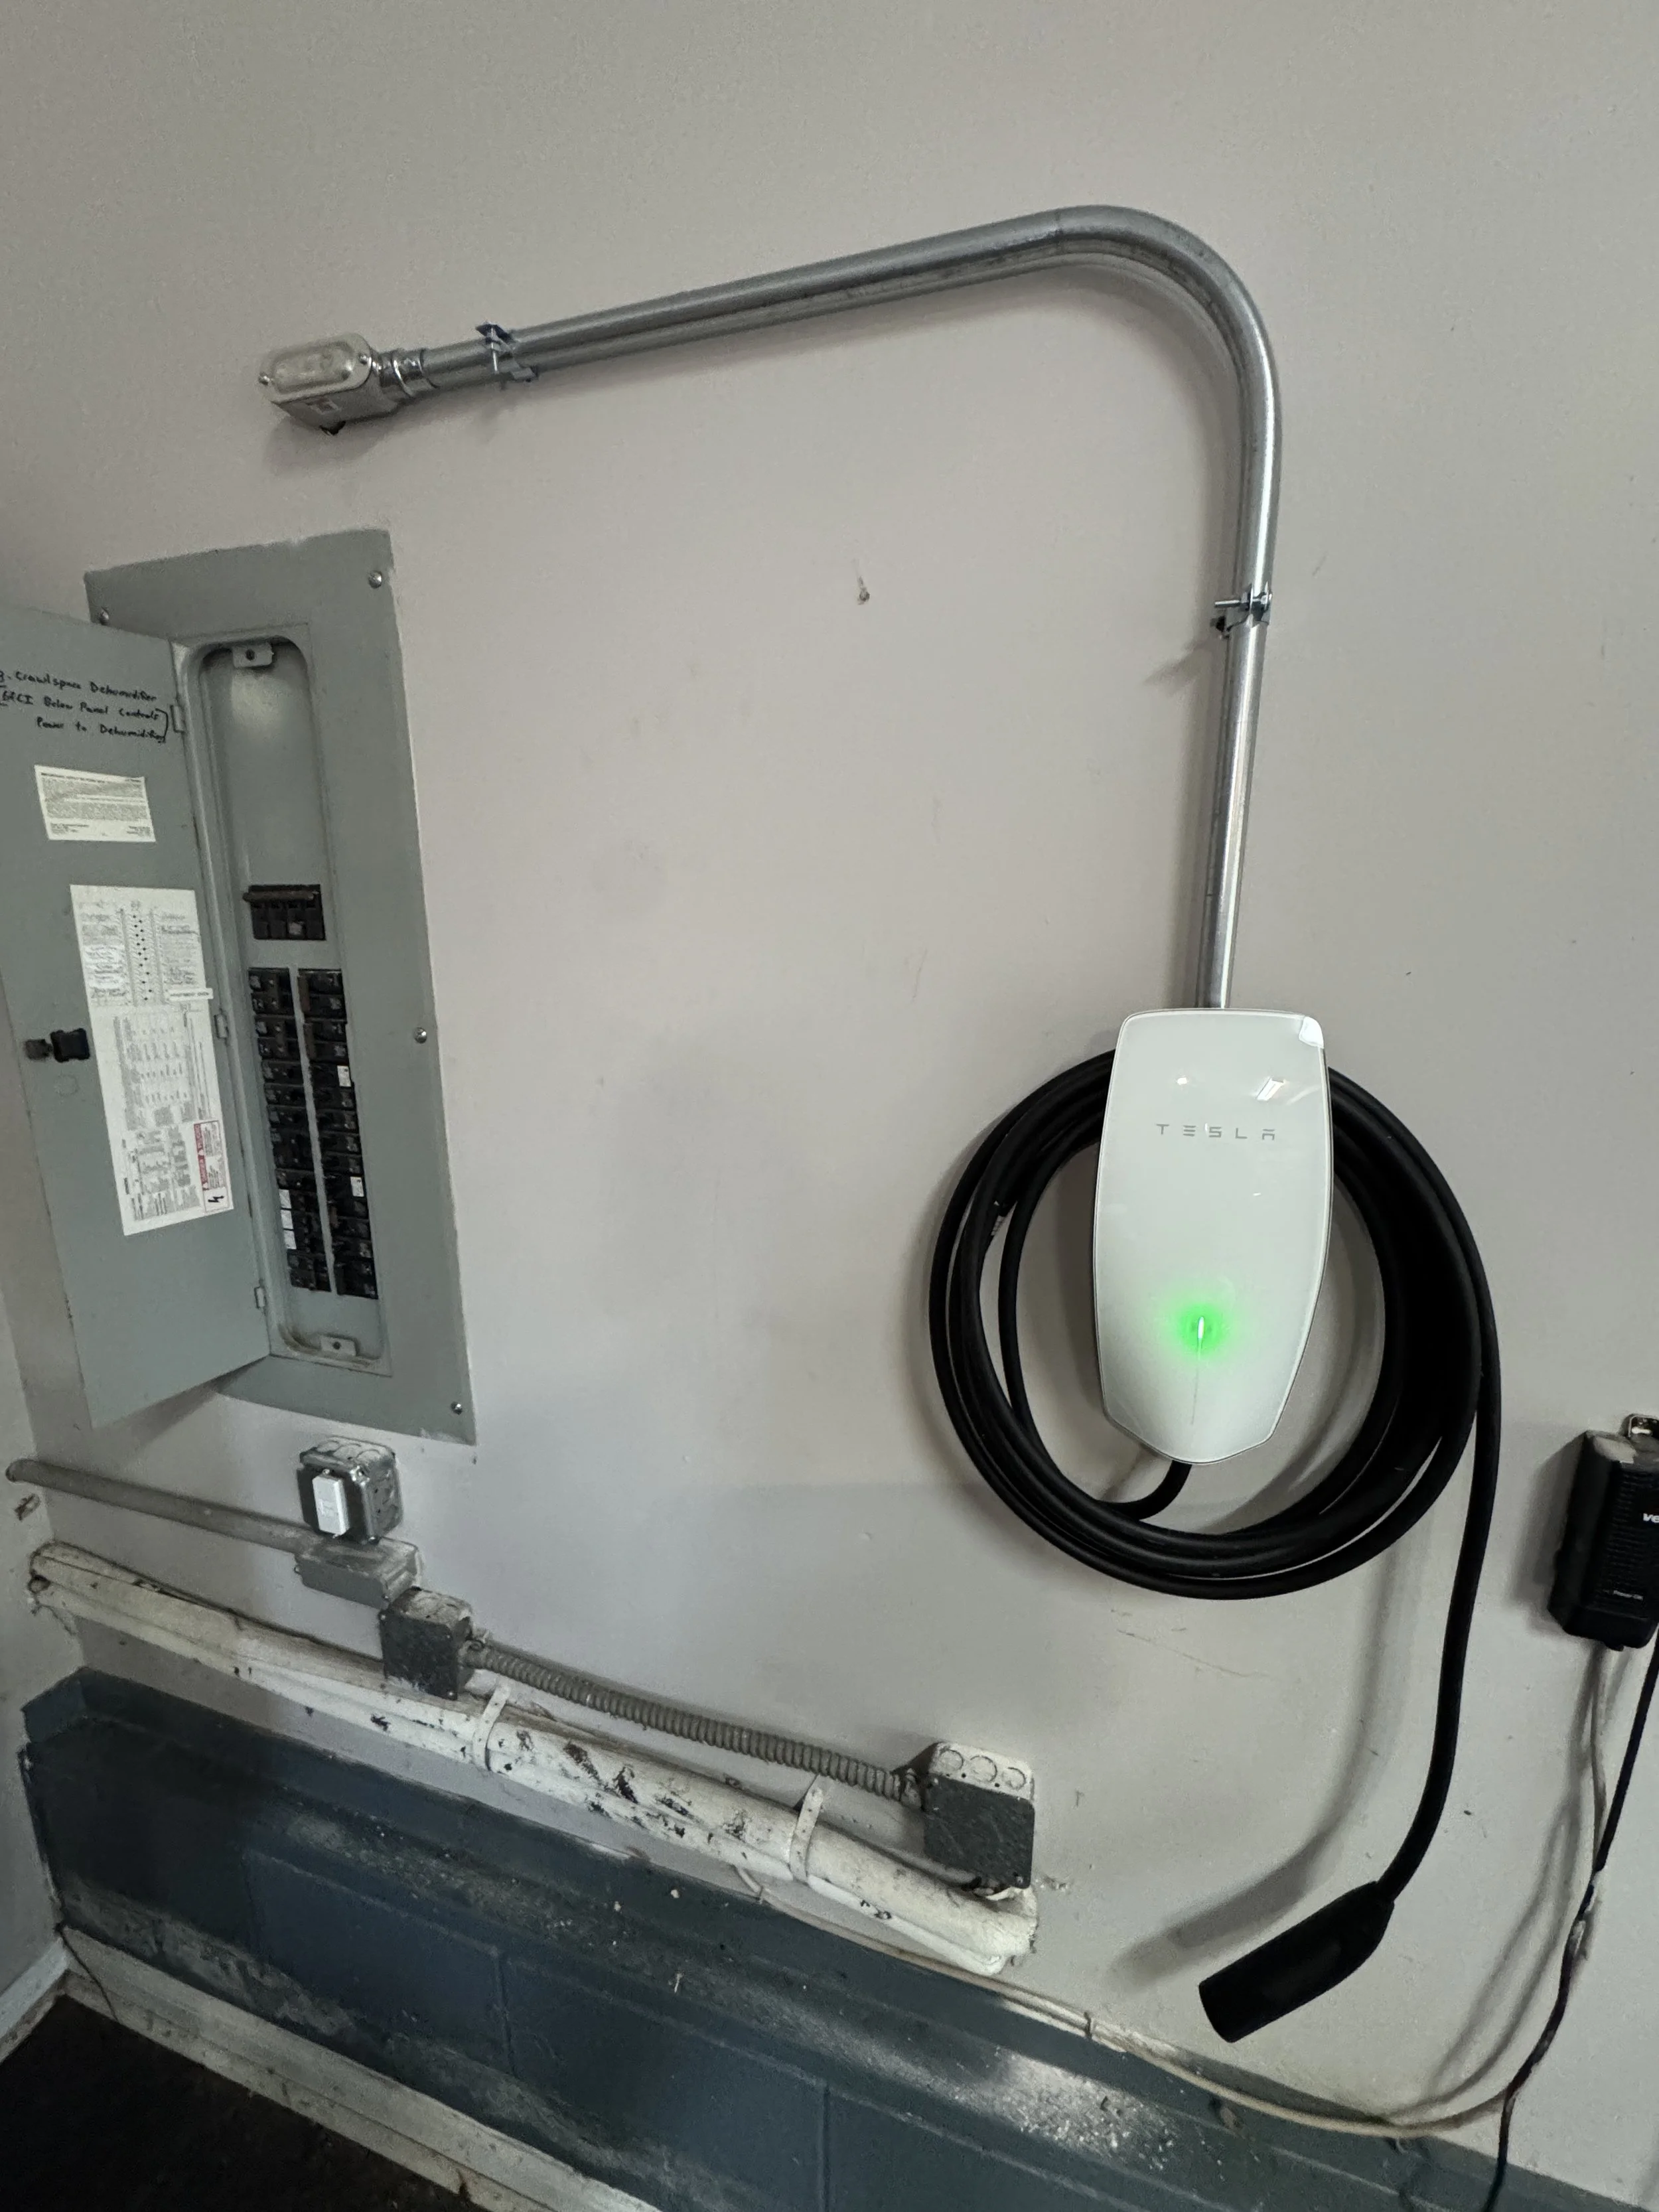
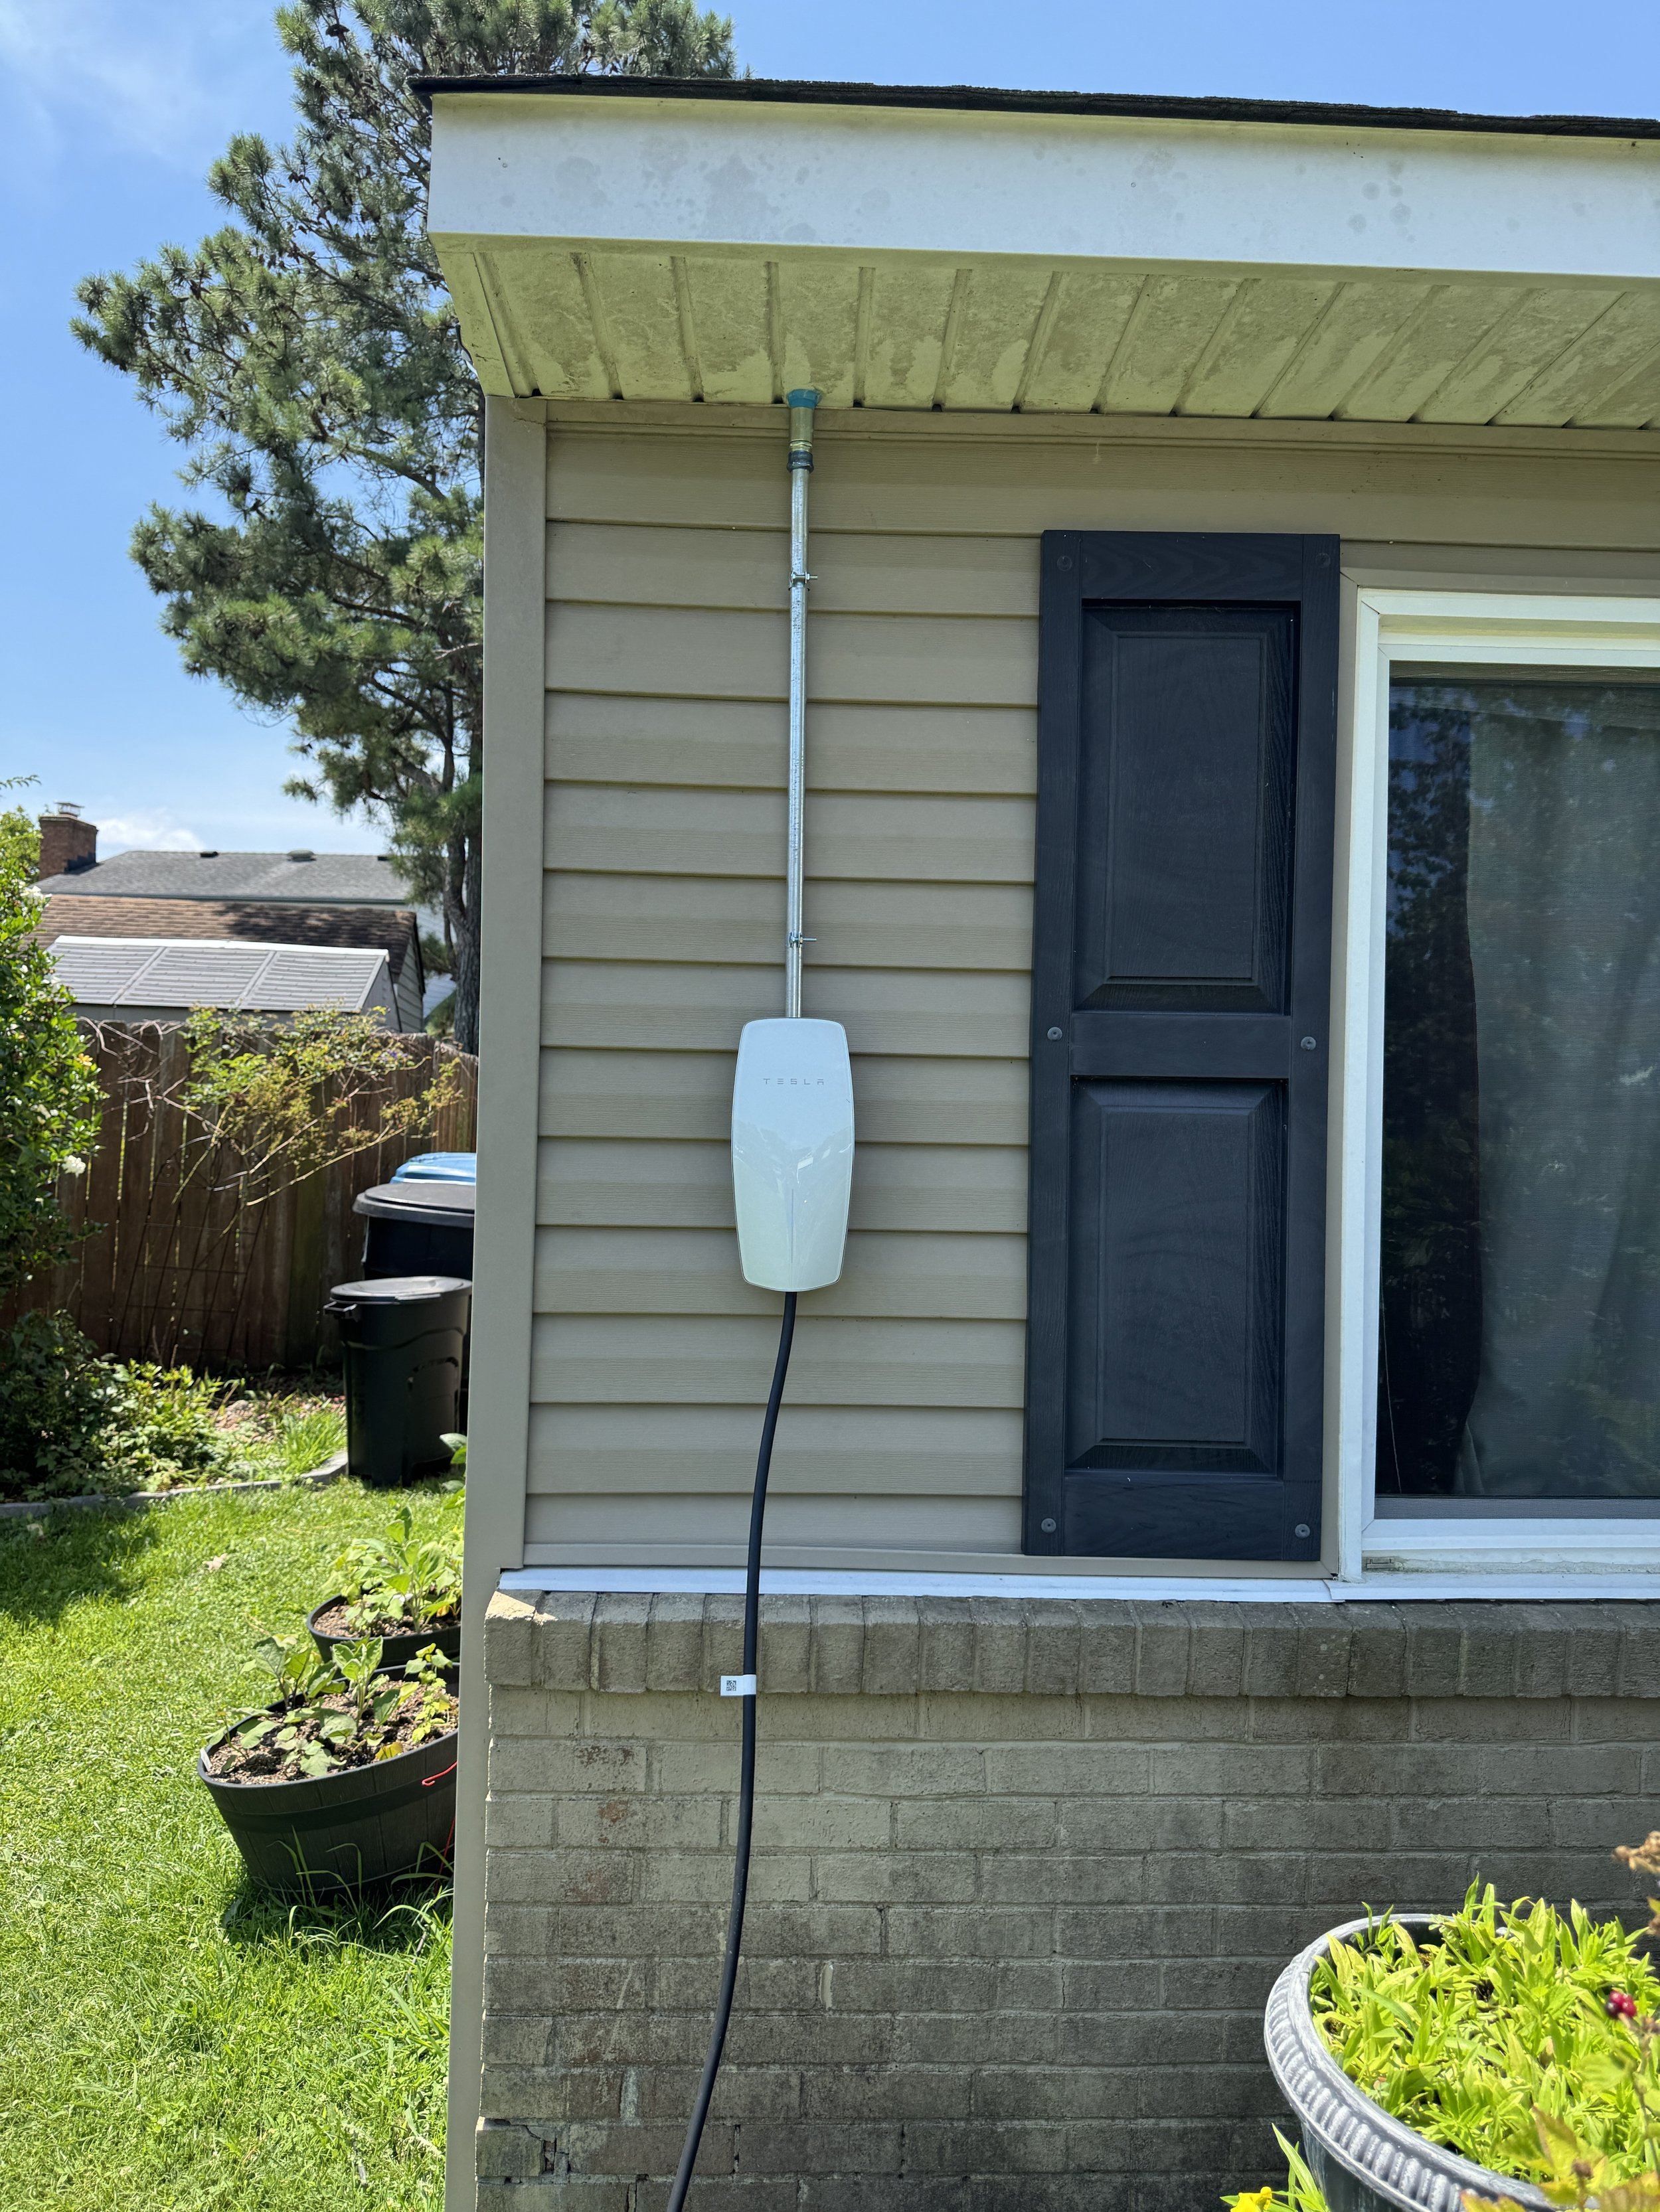
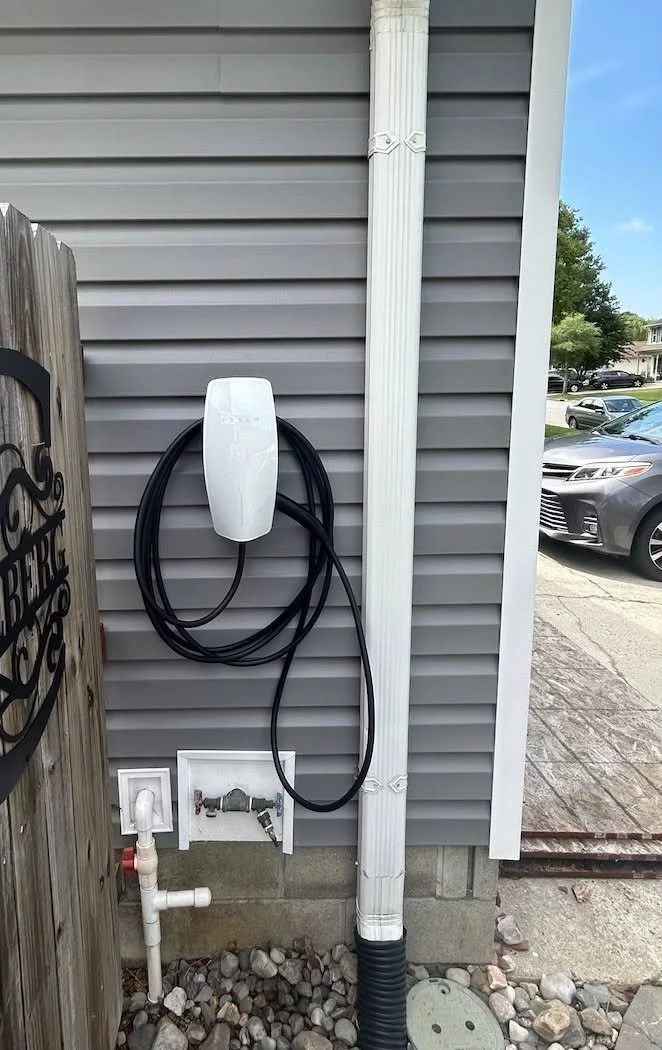
A Wall Charger, Set Up and Working
One Google review describes a Tesla wall charger left fully set up.
From our five-star Google reviews
Google 5.0 Rated by Hampton Roads Customers
Castles Electrical maintains a 5.0 rating on Google. The reviews below load as a live widget, so this page shows current feedback from real Castles Electrical customers.
11 — FAQS